
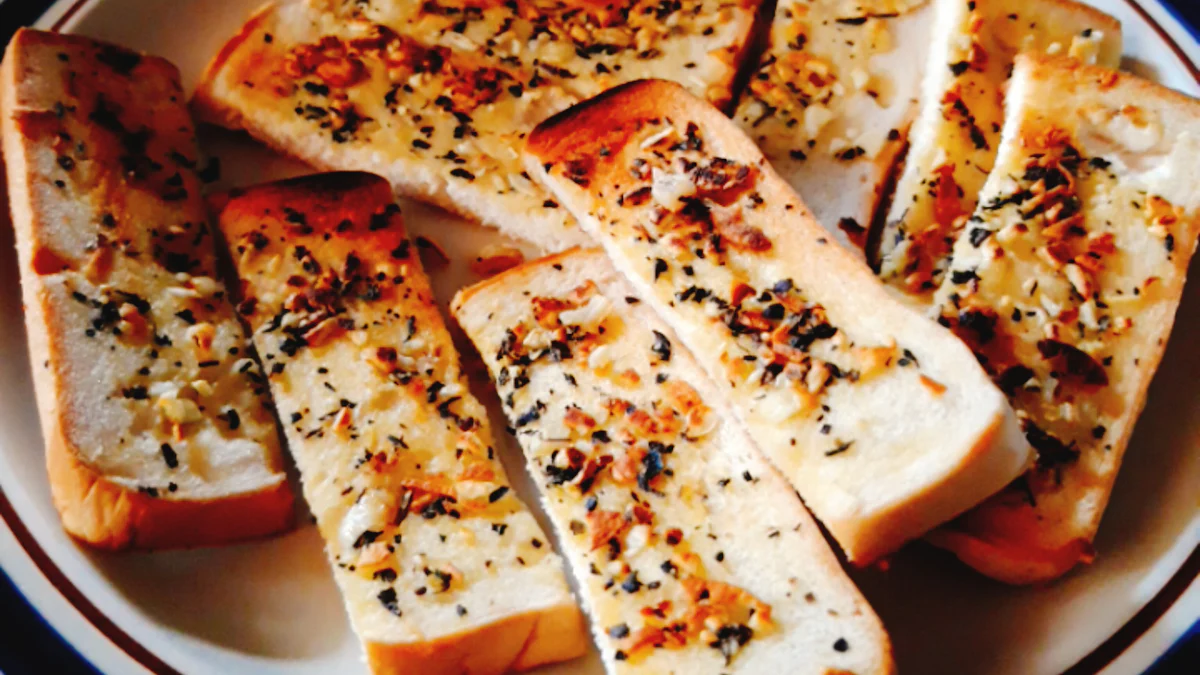
Embark on a flavorful journey with garlic breadsticks in the air fryer. Discover the delightful crunch of perfectly cooked breadsticks infused with aromatic garlic. The magic of an air fryer lies in its ability to create crispy exteriors while keeping the insides soft and cheesy. This blog unveils the secrets to achieving golden-brown perfection every time. Dive into the world of easy and quick appetizers or side dishes that are bound to impress your guests.
Ingredients and Tools Needed
Ingredients
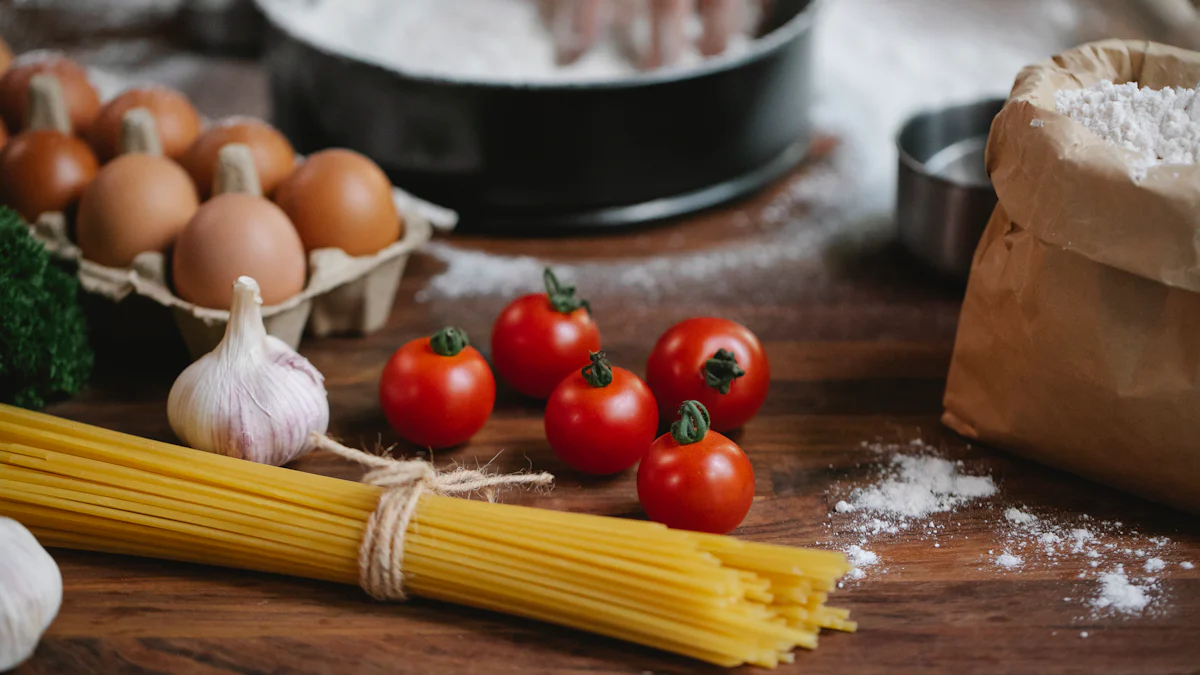
To craft delectable garlic breadsticks in the air fryer, you will need a handful of essential ingredients that elevate the flavors to new heights. Embrace the following components:
List of ingredients
- Breadstick dough: The foundation of your creation, providing the base for your flavorful additions.
- Garlic butter: Infuse each bite with rich garlic essence, enhancing the overall taste profile.
- Parmesan cheese: A sprinkle of this savory cheese adds a delightful umami kick to your breadsticks.
- Herbs and spices: Elevate the aroma and taste with a blend of parsley, basil, oregano, or any other herbs you fancy.
Importance of each ingredient
- Breadstick dough: Serves as the canvas for your culinary masterpiece, ensuring a satisfying texture.
- Garlic butter: Adds a burst of garlicky goodness that permeates every inch of the breadsticks.
- Parmesan cheese: Provides a salty and nutty flavor that complements the garlic and herbs perfectly.
- Herbs and spices: Introduce depth and complexity to your dish, making each bite a symphony of flavors.
Tools
Equipping yourself with the right tools is crucial for a seamless cooking experience. Here are the essentials you’ll need:
Air fryer
Your trusty companion in achieving crispy exteriors and tender insides without excess oil—a must-have for this recipe.
Other necessary kitchen tools
- Mixing bowls: For combining and kneading your ingredients effectively.
- Rolling pin: Essential for shaping your dough into perfect breadsticks.
- Knife or pizza cutter: To cut and shape the dough with precision, ensuring uniformity in size.
Preparation Steps
Preparing the Dough
Mixing Ingredients
To begin the culinary journey, combine the breadstick dough with flavorful garlic butter. Blend in Parmesan cheese and a medley of herbs and spices for a symphony of flavors.
Kneading the Dough
Next, knead the ingredients together until they form a smooth and elastic dough. This process ensures that all components are evenly distributed, promising a harmonious taste in every bite.
Letting the Dough Rise
Allow the dough to rest and rise, giving it time to develop its flavors and textures. This step is crucial for achieving light and airy breadsticks that will delight your taste buds.
Shaping the Breadsticks
Rolling Out the Dough
Once the dough has risen, gently roll it out into long strips, ensuring an even thickness throughout. This step sets the foundation for perfectly shaped breadsticks that bake to golden perfection.
Cutting and Shaping
Using a knife or pizza cutter, slice the dough into individual portions and shape them into classic breadstick forms. Embrace creativity in shaping to add a personal touch to your culinary creation.
Cooking Methods
Preheating the Air Fryer
When preparing to cook your garlic breadsticks in the air fryer, it’s essential to start by preheating the appliance. This step ensures that your breadsticks will cook evenly and achieve that perfect crunch. Here’s how you can get started:
Recommended temperature
Set your air fryer to a temperature of 370°F for optimal results. This temperature allows the breadsticks to cook through while developing a golden-brown exterior that promises a delightful crunch with every bite.
Duration for preheating
Allow your air fryer to preheat for approximately 3-5 minutes before placing the breadsticks inside. This short preheating time is crucial in ensuring that the cooking process begins immediately, leading to consistent and delicious results.
Cooking the Breadsticks
Once your air fryer is preheated and ready to go, it’s time to start cooking your garlic breadsticks. Follow these simple steps to achieve garlic-infused perfection:
Arranging breadsticks in the air fryer
Carefully place each prepared breadstick in a single layer inside the air fryer basket. Avoid overcrowding to ensure proper airflow and even cooking throughout the batch.
Cooking time and temperature
For perfectly cooked garlic breadsticks, set your air fryer to 350°F and let them cook for approximately 6-8 minutes. This precise combination of temperature and time results in crispy exteriors and soft, flavorful insides that will leave you craving more.
Checking for doneness
To ensure that your garlic breadsticks are ready to be devoured, perform a quick check towards the end of the cooking time. Look for a golden-brown color on the surface, indicating that they are perfectly cooked both inside and out.
Additional Tips
Flavor Variations
Adding herbs and spices
Enhance the garlic breadsticks in the air fryer experience by incorporating a medley of herbs and spices. Whether you opt for the classic blend of parsley, basil, and oregano or decide to experiment with unique flavors like thyme or rosemary, each herb adds a distinct touch to your culinary creation. Sprinkle generously to infuse every bite with a burst of freshness and aroma that will tantalize your taste buds.
Cheese and other toppings
Elevate your garlic breadsticks to gourmet status by exploring a myriad of cheese options and other delectable toppings. From gooey mozzarella to sharp cheddar or even tangy feta, the choice is yours to make each bite a cheesy delight. Consider adding crispy bacon crumbles, diced tomatoes, or caramelized onions for an extra layer of flavor complexity that will leave your guests craving more.
Troubleshooting
Common issues and solutions
Encountering challenges in your culinary journey is common, but fear not as we have solutions at hand. If your garlic breadsticks turn out too dry, consider brushing them with a light coat of garlic butter post-cooking for added moisture. Should they end up overly soft, return them to the air fryer for a quick crisp-up session at 350°F for 2-3 minutes. Remember, practice makes perfect!
Adjusting time and temperature
Fine-tuning the cooking time and temperature can make all the difference in achieving the ideal texture for your garlic breadsticks. If you prefer a softer interior, reduce the cooking time slightly while maintaining the same temperature. For extra crunchiness, extend the cooking duration by a few minutes until you reach your desired level of crispiness.
Storage and Serving Suggestions
Storing Leftovers
Best practices for storage
- Store any leftover garlic breadsticks in an airtight container to maintain their freshness.
- Place the container in the refrigerator to prolong the shelf life of your savory treats.
- Ensure that the breadsticks are completely cooled before storing them to prevent condensation.
Reheating instructions
- Preheat your air fryer to 350°F for a quick and efficient reheating process.
- Place the desired amount of garlic breadsticks in the air fryer basket, ensuring they are in a single layer.
- Heat the breadsticks for 2-3 minutes until they reach your preferred temperature.
- Enjoy warm and crispy garlic breadsticks once again without any hassle.
Serving Ideas
Pairing with dips and sauces
- Elevate your garlic breadstick experience by serving them with a variety of dips and sauces.
- Consider classic marinara sauce, creamy Alfredo dip, or zesty garlic aioli for a flavorful combination.
- Experiment with different flavors to find your perfect pairing that enhances the taste of these delightful treats.
Serving as a side dish
- Transform your garlic breadsticks into a versatile side dish that complements various meals.
- Serve them alongside pasta dishes, soups, salads, or even as an appetizer at gatherings.
- The crispy exterior and soft interior of these breadsticks make them a crowd-pleasing addition to any dining occasion.
Enjoy the convenience of storing and reheating your garlic-infused creations while exploring diverse serving options that cater to every palate!
Recap the delightful journey of crafting garlic breadsticks in the air fryer. The crispy exterior, infused with aromatic garlic, and soft cheesy insides create a symphony of flavors. Don’t miss the chance to try this recipe and elevate your culinary skills. Share your feedback and experiences to inspire others on their cooking adventures. Explore related recipes and engage with us on social media platforms for more delicious inspirations.
Post time: Jun-19-2024