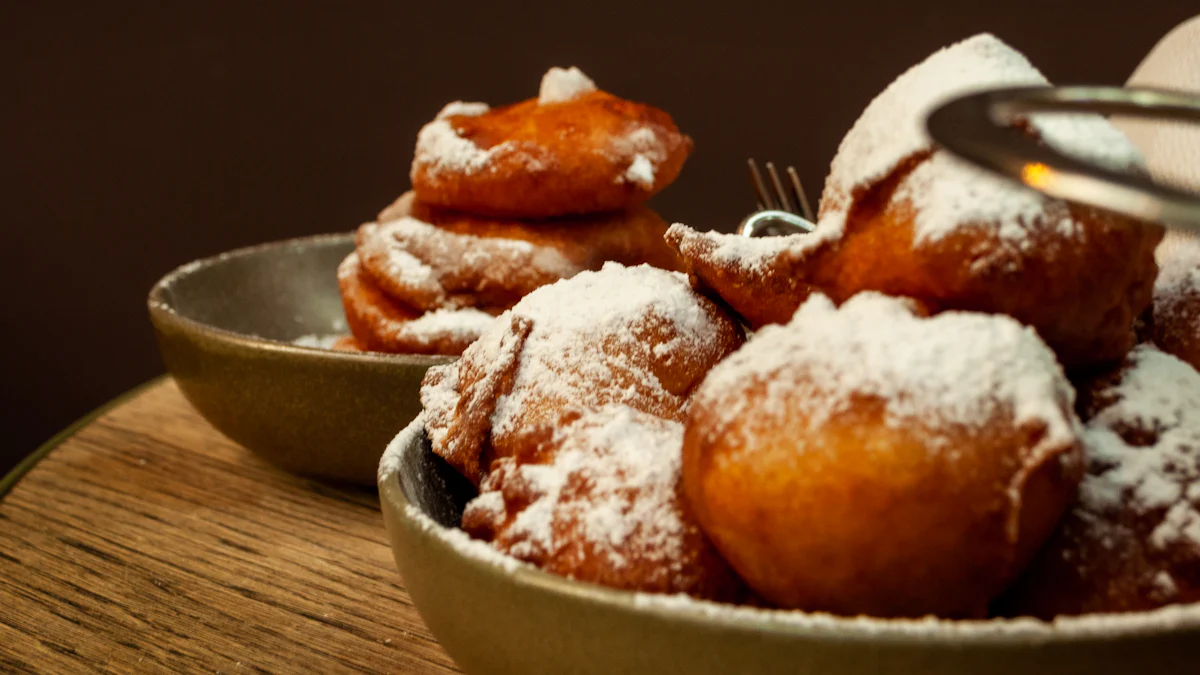
Oliebollen, traditional Dutch delicacies also known as Dutch Doughnuts, have been a winter favorite for centuries. When considering oliebollen recipe air fryer technology, the benefits are abundant. Health-conscious individuals are drawn to air fryers for their ability to reduce fats and calories by up to 70%, making them a popular choice globally. Moreover, air fryers offer a safer and more energy-efficient alternative to traditional deep-frying methods. The crispy and flavorful results achieved with an air fryer make it an essential kitchen appliance for those seeking healthier cooking options.
Ingredients

Basic Ingredients
Flour
Flour is a fundamental component in creating the perfect oliebollen. It provides the necessary structure and texture to achieve that fluffy interior everyone loves. When combined with other ingredients, flour plays a crucial role in giving oliebollen their characteristic taste and appearance.
Milk
Milk is another essential ingredient in crafting delicious oliebollen. It adds moisture to the dough, resulting in a soft and tender final product. The richness of milk enhances the overall flavor profile of these Dutch treats, making each bite a delightful experience.
Sugar Substitutes
For those looking to reduce their sugar intake without compromising on taste, sugar substitutes are an excellent option for sweetening oliebollen. Products like Greensweet Stevia offer a natural alternative to traditional sugar, allowing you to enjoy the sweetness without any guilt.
Optional Add-ins
Raisins
Raisins are a popular addition to oliebollen, providing bursts of sweetness and chewiness in every bite. These dried grapes add depth of flavor and a hint of natural sweetness to the dough, creating a delightful contrast with the crispy exterior.
Apples
Adding apples to your oliebollen batter introduces a refreshing twist to this classic recipe. The juicy and slightly tart flavor of apples complements the richness of the dough, offering a fruity burst with every mouthful. Cut into small cubes or thin slices, apples bring both texture and taste to your oliebollen.
Lemon Zest
Lemon zest is a versatile ingredient that can elevate the flavor profile of your oliebollen. Its bright citrusy notes add a zingy freshness to the dough, balancing out the richness of other ingredients. Whether finely grated or in larger strips, lemon zest imparts a fragrant aroma that enhances the overall sensory experience of enjoying these delectable treats.
Incorporating these basic ingredients and optional add-ins allows you to customize your air fryer oliebollen according to your preferences. Experimenting with different combinations can lead to unique flavor profiles that cater to your taste buds while still honoring the traditional essence of this beloved Dutch dessert.
Preparation
When embarking on the journey of preparing oliebollen in your air fryer, attention to detail is key to achieving that perfect balance of flavors and textures. The process begins with meticulously measuring and combining the ingredients to create a harmonious dough that will yield delightful results. Let’s delve into the essential steps involved in preparing the dough and utilizing a sourdough starter for your oliebollen masterpiece.
Making the Dough
Mixing Dry Ingredients
To initiate the dough-making process, start by accurately weighing out the flour, a crucial component that forms the structural foundation of your oliebollen. In a large mixing bowl, combine the flour with precise measurements of other dry ingredients such as sugar substitutes, ensuring an even distribution for consistent sweetness throughout each bite. Use a whisk or fork to gently blend the dry components together until fully integrated.
Adding Wet Ingredients
Once the dry ingredients are well combined, it’s time to introduce the wet elements that will bring moisture and richness to your oliebollen dough. Gradually pour in the required amount of milk, stirring continuously to prevent any lumps from forming. The milk acts as a binding agent, creating a smooth and cohesive mixture that will result in soft and tender oliebollen after air frying. Incorporate all wet ingredients thoroughly until you achieve a homogeneous batter ready for further preparation.
Using a Sourdough Starter
Preparing the Starter
For those seeking to elevate their oliebollen experience with an added depth of flavor and complexity, incorporating a sourdough starter is a game-changer. Begin by activating your sourdough starter at least 6 hours before you intend to make the dough. Mix together portions of flour, water, sugar, and other essential ingredients in a separate container, allowing natural fermentation processes to kickstart and develop that signature tangy taste characteristic of sourdough.
Incorporating the Starter
After your sourdough starter has matured and reached its optimal fermentation stage, it’s time to integrate this flavorful base into your oliebollen recipe. Gently fold in the prepared sourdough starter into your main dough mixture, ensuring an even dispersion of live cultures throughout. The incorporation of sourdough not only imparts distinctive tanginess but also enhances the overall texture and aroma of your final oliebollen product.
As you progress through these meticulous steps in preparing your oliebollen dough, remember that patience and precision are key virtues in achieving culinary excellence. By mastering the art of balancing dry and wet ingredients harmoniously while harnessing the unique flavors of a sourdough starter, you’re one step closer to savoring homemade oliebollen that encapsulate tradition with a modern twist.
Cooking

Shaping the Dough
When preparing oliebollen in an air fryer, shaping the dough plays a crucial role in achieving the perfect texture and appearance. To ensure uniform cooking and consistent results, using metal spoons is a recommended technique by experienced Dutch chefs. This method allows for precise portioning of the dough, creating evenly sized oliebollen that cook uniformly. By mastering the art of shaping the dough with metal spoons, you can elevate your oliebollen-making skills to professional levels.
Air Frying
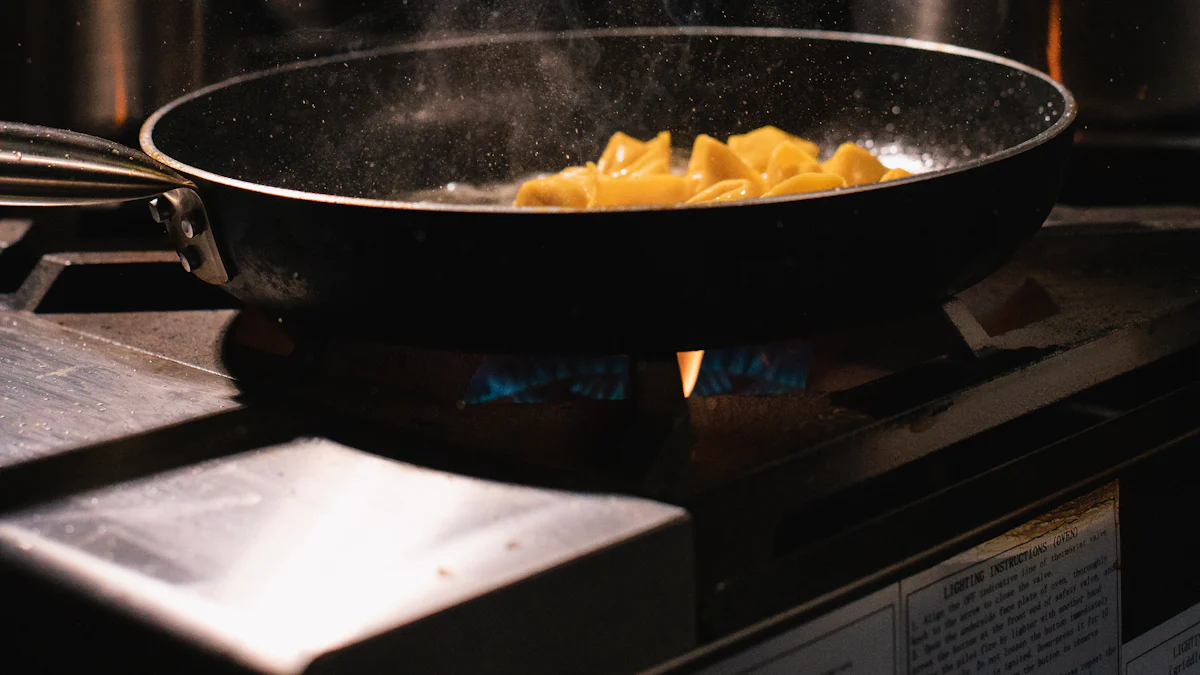
Once the dough is shaped to perfection, it’s time to delve into the air frying process—a modern twist on traditional deep-frying methods. Setting the temperature correctly is essential for achieving that signature crispy exterior while maintaining a soft and fluffy interior. Expert Dutch chefs advise starting at a moderate temperature to allow the oliebollen to cook through evenly without burning. Adjusting the temperature based on your air fryer model and personal preferences ensures optimal results every time.
The cooking time is another critical factor in perfecting your air fryer oliebollen. While traditional deep-frying methods offer quick cooking times due to high oil temperatures, air frying requires a bit more patience for superior results. Experienced Dutch chefs recommend monitoring the cooking process closely, ensuring that each batch of oliebollen reaches that ideal golden brown color and crispiness. With practice and attention to detail, you’ll master the art of air frying oliebollen like a seasoned professional.
Reheating Tips
For those moments when you have leftover oliebollen or simply want to enjoy them warm again, reheating using an oven is a preferred method by experts in Dutch cuisine. The oven method offers even heating throughout, preserving the texture and flavors of your beloved treats. Preheat your oven to 200°C and place the oliebollen on a baking sheet lined with parchment paper. Allow them to reheat for approximately 10 minutes until they are warmed through and regain their delightful crispiness.
Incorporating these expert tips into your oliebollen-making journey will elevate your culinary skills and delight your taste buds with authentic Dutch flavors right from your kitchen.
Recap of the Process:
- Summarize the journey from selecting ingredients to shaping and air frying the oliebollen.
- Highlight the importance of precision in measurements and techniques for perfect results.
Encouragement to Try the Recipe:
- Embrace the opportunity to create your own batch of delicious Dutch doughnuts.
- Experience the joy of crafting a traditional delicacy with a modern twist in your kitchen.
Mention of Health Benefits:
- Indulge guilt-free in these delightful treats made healthier with an air fryer.
- Enjoy a reduced-fat version without compromising on taste, as testified by health-conscious individuals.
Post time: Jun-12-2024

